How to detect and repair roof leaks on different roof types
Rain Heads Custom Made Shipped Free Australia Wide – Click Here >
Dambuster Rain Heads Shipped Free Australia Wide – Click Here >
Commercial Industrial Roof Vents 300mm-950mm – Click Here >
Eco-Friendly Roofing Insulation Shipped Free – Click Here >
Gutter Sumps Shipped Free Australia Wide – Click Here >
Roof Leak Repair
When the rainy season approaches, you can bet that having leaky roofs will be one of your main problems. It doesn’t only pose aesthetic problems but also safety issues if not fixed immediately.
Importance of Fixing Leaking Roof
One of the solutions to “fix” a problematic roof is using a bucket to catch rainwater. While this is a good solution, this is but a temporary one. You still need to have your roof fixed to prevent other problems:
An unfixed roof can lead to broken shingles.
• It can indicate a more pressing problem like flooding.
• This can affect piping and plumbing systems.
Your roof is an important part of the house next to your home’s foundation. If you don’t care for it, the house will be unprotected from outside elements.
Types of Roof Leaks
Roof leaks can be classified according to the cause of the leaks.
• Natural element. This comes with loose or broken shingles because of insufficient sealing and/or loose nails. Aside from basic repairs, sealants help solve this problem.
• Improper installation. You may ask the contractor to have this remade. If not, you may have to replace the entire roof.
• Moisture and condensation. Clearing the mold and mildew before repairing the roof is imperative.
It is important to know these types because these will tell you what specific techniques to use when fixing the roof.
What to Consider in Fixing Leaks
Address roof problems as soon as you can. This is also the reason that contractors encourage you to check out your roof at least once a month. Doing this will help you detect most problems during the early phase. Here are some other considerations:
• Age.
o This will help you decide if the roof needs minor fixing or complete replacement.
o The type of materials used to construct the roof will be a major indicator if the roof needs fixing or replacement.
• Materials.
o This will help you accurately estimate the costs of having the roof fixed.
o Also remember that some materials may not work well with other materials that you may want to use for repair. For instance, caulk may not be a good material to use if you are working on a cedar surface.
• Missing parts.
o For instance, missing shingles can directly make the rainwater pour from the top of the roof to the wall edges.
o Having detached parts from the roof also means that there is a chance that the parts attached to them will not be aligned properly.
Another important consideration for roof repair is your budget. Make sure what you want is realistically attainable. If not, you may look into your home insurance to see if they can provide you with some financial assistance depending on the damage on the roof.
Looking for Hidden Leaks
Finding the source of the leak is important because this will tell you the extent of damage. Unfortunately, the cause is not always obvious at first glance.
1. Use a garden hose to simulate rainwater.
a. As much as possible, use low pressure to do this.
b. Make it a point to make the water flow as slow as possible to make it easier for you to trace its source.
2. Follow the water trail to its highest point.
a. This may require a bit more water than the previous step.
b. You may have to use a step ladder to make it easier for you to access high areas.
3. Measure the gap between the highest leak point and the end of the leak.
a. This will most likely lead you to crevices or corners.
b. Take note that the gap does not necessarily show you where the hidden leak is just yet.
4. Once the roof is dry, repeat the measurement.
a. Compare the results with the previous measurement to see where the approximate location is.
b. After taking the measurement, compare this with the measurement you had when the roof was still wet.
c. The meeting point between these two will most likely determine where the hidden leaks are.
When you are trying to look for the source, be mindful of the law of gravity. This is the main guiding principle that makes each roof part work efficiently.
Importance of Knowing the Common Leak Locations

Glazing
If left to its own devices, leaks can eventually affect different parts of your house. The following can further explain why roof leaks should be fixed immediately:
• This can help prevent corrosion of metal parts of the roof.
o Corrosion means less durability for the structure.
o Aside from the roof being brittle, this can cause hazard when the time comes when you or someone else needs to go on the roof to fix it.
• It avoids water damage on walls and ceilings.
o Avoiding water damage can help you prevent problems such as a foul-smelling attic and a fire hazard.
o In the long run, avoiding this can help you save more water that you do not have to spend on extensive roof part replacement.
• Repairs can minimize health hazards due to mold infestation.
o This is especially important if you or other people in the household are suffering from asthma and other similar conditions.
o This will also help prevent skin problems due to fungus exposure.
• It reduces the risk of having electrical fire.
o Some wiring systems need to pass through the roof. When these are exposed to water leaks, this can cause sparks and short circuits.
• This can help you save money if the source is a defective plumbing line.
o If defective problems are unaddressed, they can make your household consume more water and lead to more expensive water bills.
Common Leak Locations
Contrary to common belief, simple rooftop holes are not the only ones that help warrant immediate roof repair. This section will give you an overview of the types of roof problems you may encounter depending on the location of the damaged. The type of roof is also a factor to consider for the common leak locations.
Shingles
For older roofing systems, you can commonly locate the problem inside the roof field. This field refers to the area that consist the shakes, slates, and shingles.
On the other hand, other materials like clay, tile, concrete, or slate may be a bit more difficult to work with. You may have to ask assistance from someone else to help you disassemble the parts that needs repair.
If you are dealing with the usual shingles, check the top part of your vertical knockouts. Locate missing granules or cracks. Missing nails may also be an issue.
Head Wall Flashing
This part of the roof is located between a wall of your house and the slope of your roof. This is commonly located in front of brick walls or at the back of wooden sidings. If correctly constructed, this will effectively avoid rainwater leaks because it can easily direct water from the top of the roof to its side until it reaches the lower parts of your house.
Ideally, this should extend a little from the shingles by a few inches. The extension is important to further ensure that the water will be directed to the sides of the roof and not to the surface of the side walls or worse, to the inner parts of your house where it can cause fire and electrical hazards.
This part is usually constructed using steel, aluminum, or copper. Among these three parts, go for the steel alloy varieties. Compared to the latter two materials, this one is more resistant to corrosion. Aside from that alloys made of steel has less chances of warping and denting.
Head wall flashing should never be used with roofing cement, caulk, or tar. If you see at least one of these in the head wall flashing, this is definitely the main cause of the roof leaks.
Check for the alignment of this flashing. The metal part should be in place so it can effectively direct flowing water from the top of the roof to the part where the shingles stop.
Valley
This is the point where the two planes of your roof intersect. Because of its relative location, this is considered as one of the most vulnerable parts of the roof. Thus, this is also one of the most common sources of roof leaks.
Depending on the contractor that initially installed the roof for your home, the valley may or may not have metal flashings inside. On the other hand, some prefer using rolled roofing while some others just combine the shingles.
If the combined shingles are not properly measured and trimmed prior to installation, this can eventually cause the leaks. The poor construction can make the rainwater directly flow from the top of the roof to the inner parts of your household without much delay. Therefore, any damage to this region should be addressed as soon as possible.
Aside from that, having a shingle wrapper present in the installation is important to further prevent leaks. Absence of this can make rainwater directly flow inside your house.
If you are to consider a new valley, go for an open roofing valley if you aim to have a design that will last longer. While a closed type of valley is easy on the eyes, this roof design is not very much efficient.
Chimney
Chimneys are common causes of roof leaks. This is because of its relative location on your roof – it tends to “catch” anything that will fall downwards.
Because it is a roof opening, contractors ensure that there are numerous flashings inside to ensure proper rainwater flow. This complex system can make it more likely to have this as your culprit.
Here are some tips to prevent having your chimney as one of your main roof leak problems:
• When inspecting the chimney, also look for small cracks that may have formed over time.
• Never use caulk in fixing these problems as this can make matters worse. Remember that caulk is relatively brittle. Anything that is brittle can easily absorb water and moisture. Therefore, the caulk will eventually crumble before you even have the chance to call out on your contractor for help (of course, that is an exaggeration, but you get the drift)!
• Consider having a chimney cap installed. This will significantly lessen the chances of keeping out squirrels, raccoons, birds, rainwater, and debris out of the chimney, thus preventing damage in the future.
• If a chimney cap is not your cup of tea, consider having doors or screens for your chimney.
• Also install carbon monoxide detectors and smoke detectors for safety.
Wall Step Flashing
This is located near your roof’s vertical wall. This is installed side by side with the shingles. One part of this flashing is laid alongside the wall. The other part of the wall step flashing is placed alongside the shingles.
Because it is most likely exposed to rainwater, always make it a point to check this for holes and signs of rust. Using the simulated rainwater test to detect the type of hole from a wall step flashing can help you address the problem during the prior stages of decay.
Here are some helpful tips to help you repair your wall step flashing. You may use these if ever you find out that this flashing is the source of the problem.
• Once you confirm this is indeed the cause of the problem, plug the pinholes using cement intended for your roof. Patch up the holes up to approximately of an inch (diameter). Use a patch with a similar material as that of the one used for your flashing.
• Renew the seals of the flashing by caulking on the edge of the flashing. You should also get rid of the old mortar while you are at it.
• If ever you plan to reseal the drip edge, do this on the seal under your shingles. However, never seal this edge along the eaves of your roof.
• Close the gap between the step flashing and the roof’s cap. Using silicone caulking compound or urethane roofing cement will most likely do the trick for you.
Furnace
This is also known as the B-vent flashing. This is part of the system that is usually installed against your roof’s gable. The upper part is considered as the gas pack. Its main role is to provide adequate and efficient refrigeration and heating for your entire household.
On the other hand, the lower part is considered as the evaporative cooling unit. This has a thick pad installed in the front part. The pad is usually about a foot in thickness. Among the available materials used for this part, metal is the best material to use for this part that can prevent leaks.
The furnace has a similar structure to plumbing vent flashing. The difference is that the furnace sometimes has metal storm collars attached to it. The storm collar is the circular bit of metal that should snugly fit against the rounded pipe of your chimney. This is located directly on top of your flashing system.
If present, these collars are snugly fit around the vertical B-vent pipe that eventually leads to the top and outer part of the roof. Over time, the storm collars can get loose especially when your roof has to deal with a lot of rainy and windy seasons. Therefore, also inspect this part for signs of loosening, wearing, and tearing.
Before you consider replacing the furnace altogether, check the screen if it is just loose. Also check for any signs of obstruction for this part. If detected, promptly correct this problem and see if your roof is still leaking after the repair.
Plumbing Vent Flashing
This structure works hand in hand with the wall step flashing in properly directing rainwater from the roof to the immediate drainage system. Your flashing should extend up to the middle part of the pipes. The bottom part should cover the shingles and remain exposed.
Ironically, the newer kinds of plumbing vent flashings are more of a concern nowadays. The latest designs of this part of the roof have rubber seals combined with aluminum flashing.
Because rubber becomes brittle with regular water exposure, the entire part can only do so much as provide effective rainwater protection for up to 10 to 15 years only. Anything longer than that will most likely cause sudden collapse of the entire plumbing vent flashing.
Here are some tips to help you repair your plumbing vent flashing. Do these steps once you confirm that this is definitely the cause of the leaks.
1. Remove the nails used to attach your previous roof flashing.
2. Remove the shingles.
3. Remove the flashing off your venting pipe.
4. Install the new flashing in place of the old one.
5. Secure the shingles over the upper part of your flashing.
6. Fasten these parts using rust-resistant roofing nails and use a sealant.
Wind-blown Rain Leaks
If rain gets combined with strong winds, this can pose a threat to your roof. This can eventually drive up the water under the roofing materials.
If your roof has metal valleys, consider hemming the edges.
Inspect the area for bends. These bends can sometimes open up spaces. These gaps can eventually let water into the other parts of your roof or even directly inside your attic. A quick rundown of the roof can help avoid this.
If you are suspecting rain leaks, you may want to investigate these parts:
• Gutters
• Electrical outlets
• Rafters
• Roof sheeting
Consider using roofing cement for the wind-blown rain leaks can do some wonders if correctly applied. Make sure to always follow the manufacturers’ instructions in preparing and applying the roofing cement. Not only will this help keep you away from any form of unwanted harm but can also help keep your entire roofing system leak free in the next few months or even years.
Slopes
The slopes are parts of your roof characterized by the angle formed by the horizontal run and the vertical rise. The minimum slope of your roof should be at least 1:6 inches. Anything lower than this recommended ratio will render your roof ineffective in properly directing the water from the top of the house down to the gutters.
In numerous cases, roofs with low run to rise angles encourage water to stay on the surface. Aside from risks of having corroded roof materials, this can also cause serious health problems if you do not do anything about it.
Having an excessively shallow slope can easily make the wind blow away the shingles and let the water in. Aside from this, a low roof slope can increase the risks of having warped and dented roof parts. Aside from that, this can encourage the formation of unnecessary ridges and blisters in different parts of your roof. This is especially true if you had your roof initially made by inexperienced contractors.
Inspect these elements to ensure that these are not the causes of leaks. If you have a relatively low roof pitch, you may want to consider replacing the entire roofing system altogether to help address this issue. Otherwise, you are just in to some more incidences of rainwater roof leaks in the future.
Roof Fixing Techniques
The roof problem can range from a simple hole to an assortment of inner installations. In this section, you will learn some basic techniques to deal with the damage.
1. You can patch your roof using a fabricated patching system combined with a good primer.
a. Most patching systems require dry conditions to proceed.
b. If this is not possible, use waterproof patching systems.
2. For flashings, you may use lead wedges if you do not have clips.
a. Clean the joint first and remove old sealants and mortars.
b. Push the clips into the new joint. Apply sealant on the area.
3. You may substitute your old shingles for laminated ones.
a. This will require longer staples and nails.
b. You have to determine first if the type of roof that your house currently has is a good candidate for attaching laminated shingles.
4. Asphalt shingles can be repaired using new sets of asphalt shingles, roofing nails, and adhesives.
a. Pull out the damaged part first.
b. Cut the new shingle to the correct measurement. This will help encourage a snug fit among the shingles.
c. After that, use nails and adhesives to attach them to the roof.
d. When joining the shingles, make sure to use nails with the proper length to ensure that the part will not be broken again.
There are other roof repair techniques that you will learn along the way. To make sure that it is safe to perform them, consult an expert first. This will help you prevent lots of accidents and mishaps in the future.
Tips in Fixing the Roof
With proper understanding and orientation, you can definitely do something to fix your roof. These are some useful tips as you go along with the repair:
1. When hosing down the roof, do it slowly.
a. This will help you clearly see which part is the problem.
b. Slowly doing it will help you easily figure out where the water will flow as soon as you introduce the water.
2. Do not depend on caulk as much as possible.
a. This is but a temporary “solution” to the main problem.
b. By nature, caulk is brittle so you will most likely have to replace it altogether anyway.
3. Never waste time and cover the holes up.
a. Do this as soon as you spot small holes in shingles.
b. Addressing this problem prevents the holes from getting larger.
c. Aside from that, this will help preserve the integrity of the shingles.
4. Check your chimney flashings.
a. Thoroughly assess if they already require total replacement.
b. Remember that these flashings are some of the most commonly damaged parts of the roof.
c. This is susceptible to water and moisture retention so this also has a higher chance of developing rust over time.
5. Also inspect the dormers and walls.
a. There may be parts that may already need repairs.
b. Like the other parts of the roof, look for cracks and crevices where water will most likely seep in.
Make sure your roof is well ventilated. Without good ventilation, heat and humidity will be able to do some serious damage to your roof. You can improve your roof by adding additional events, or by adding a single power vent. As long as your roof has room to breathe, you’ll be in good shape.
Be sure to clean out your gutters on a regular basis. If they get backed up, water may leak into your attic, which can cause permanent damage to your roof. Check your gutters often, and give your roof a deep cleaning one or twice a year. This is key to keeping it in great shape.

Ridge Cap
This roof installation closes the gap between the two slopes. Most types of ridge caps are available in 0.55 mm and 0.40 mm varieties of base metal thickness. There are two main types of ridge capping systems that are currently available in the market. These are the following:
1. Roll variety ridge caps are considered as the conventional way to construct these parts. You can usually find them on corrugated types of steel roofing systems. In some regions, the contractors add a stiffening rib. This is place along the skirt of the ridge cap to reinforce it and place the screws easily.
2. On the other hand, the simple three bend variety ridge caps are those that you need to consider if you are considering building a customized feel for your roof. Compared to the first type, this one has a straightforward structure. One of its interesting features is an anti-scratch edge.
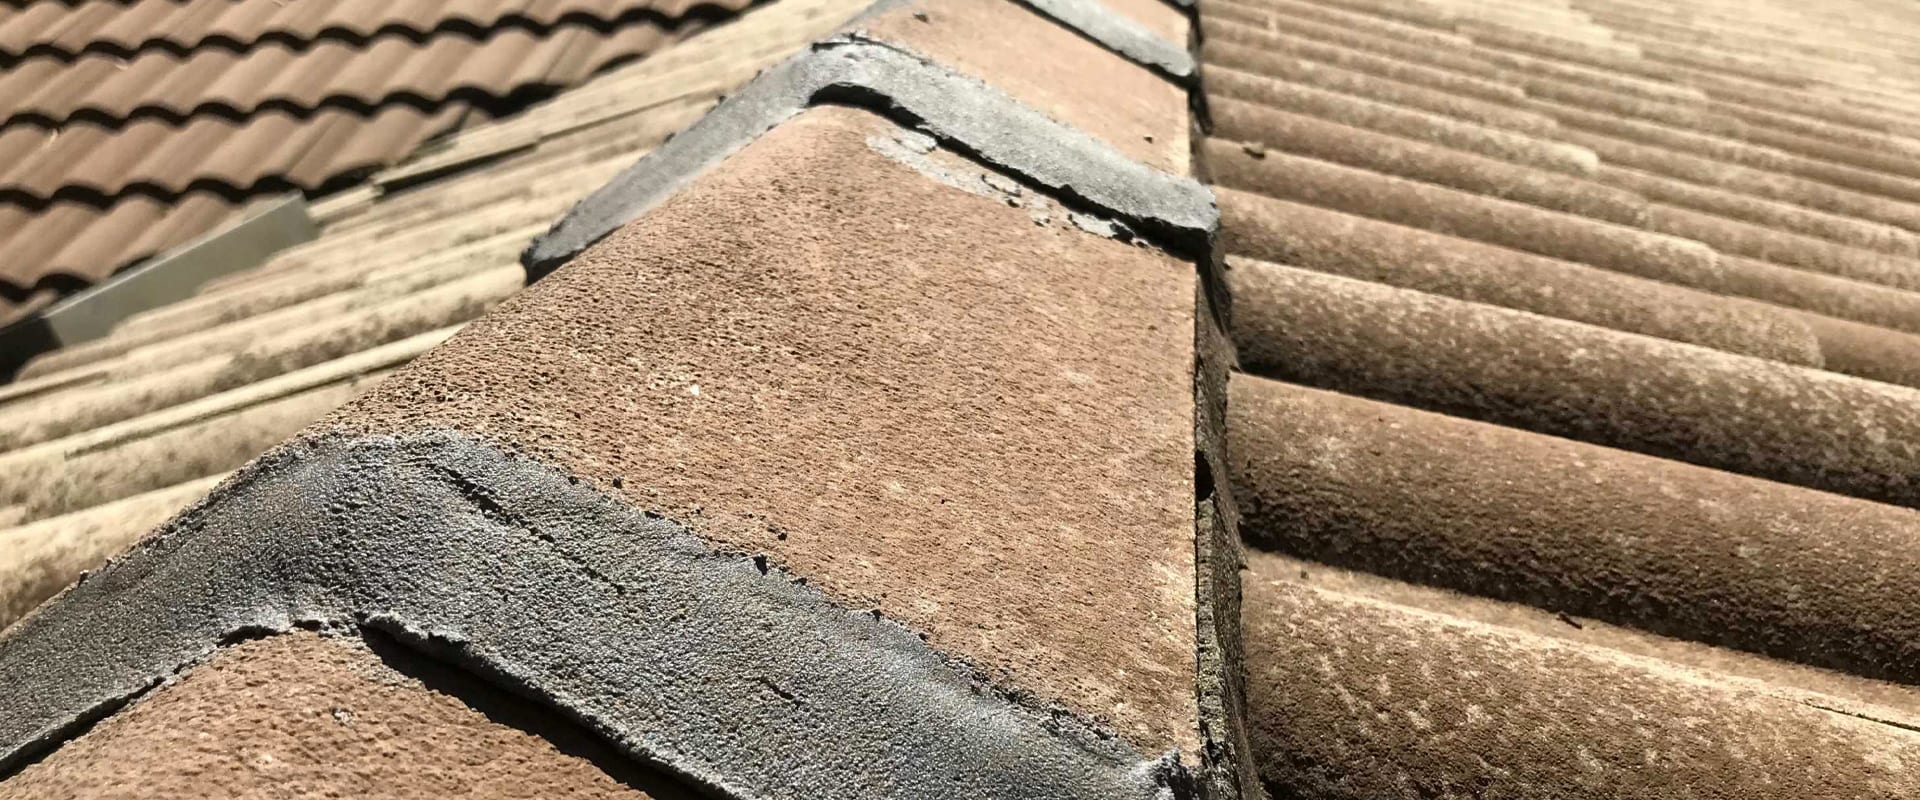
When the slopes meet, there is a chance that a hole will form so the ridge cap is commonly placed to ensure that the roof will not have leaks. As long as the ridge cap is secured, you should not suspect rainwater roof leaks coming from this part. Therefore, it is best to regularly inspect this part for any signs of changes in position due to strong winds. You should also check this constantly for any signs of rust and other types of deterioration.
If your contractor did not use sealants or other materials to protect this cap, chances are this is a candidate for the case of roof leaks. Also consider investigating this aspect of roof structure just to make sure.
Detecting roof leaks
1. Looks for stains and water spots. These are usually signs of discoloration.
2. Some spots will reek of pooling or stagnant water due to problematic toilets, heaters, or washers.
3. If a certain spot on the inner parts of the roof emit a foul smell, it is time to suspect water damage.
4. Expansion, sinking, sagging, buckling, and warping of any spot in the roof can also indicate that water damage is underway.

Post Tags: #Commercial roof leak repair Sydney

