How to Install a Whirlybird Like a Pro


Rain Heads Custom Made Shipped Free Australia Wide – Click Here >
Dambuster Rain Heads Shipped Free Australia Wide – Click Here >
Commercial Industrial Roof Vents 300mm-950mm – Click Here >
Eco-Friendly Roofing Insulation Shipped Free – Click Here >
Gutter Sumps Shipped Free Australia Wide – Click Here >
Step by Step Guide to Efficient Whirlybird Installation
Is whirlybird installation easy? How is it done? Find out all about the installation process at this stage by step guide. Get the installation right the first time.
What is a Whirlybird?
Whirlybirds are roof ventilation systems that offer excellent air circulation on your roof. They suck hot air from inside the house and prevent residual heating on your roof. Whirlybirds are semi-mechanical and are wind driven.
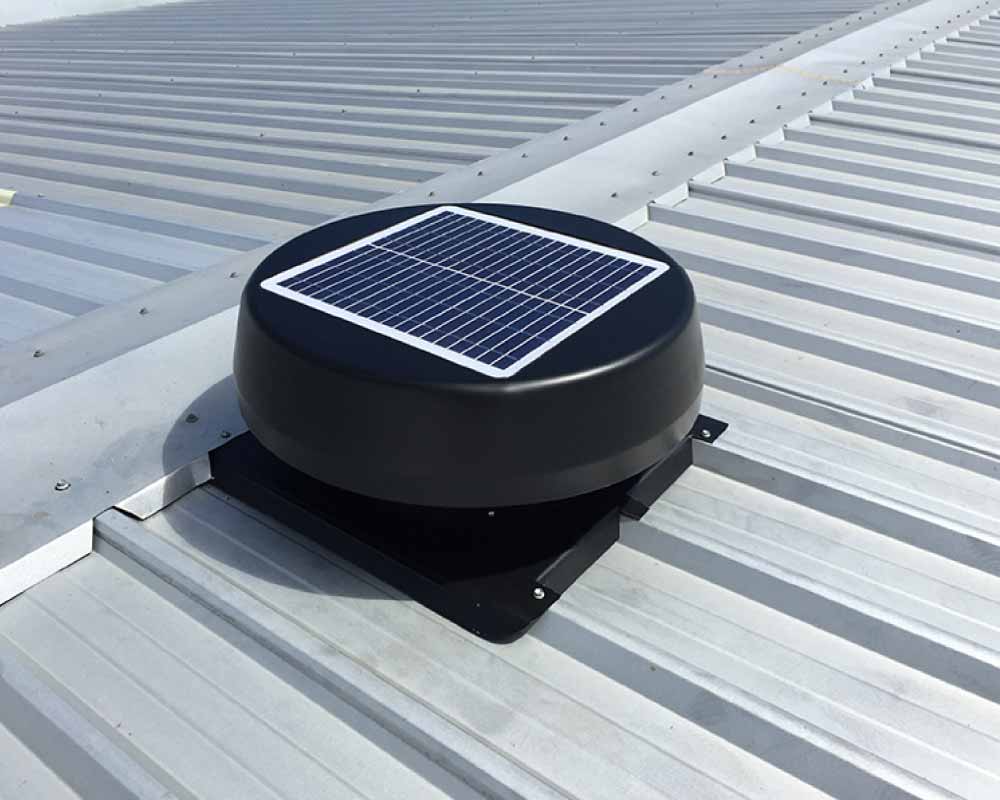
Whirlybird ventilation systems incorporate a turbine that rotates the vents when the wind blows through it. There are solar powered whirly birds introduced to the market. You, however, have the option of choosing the whirlybird roof vent that best suits your needs.
Why Do You Need a Whirlybird?
Whirlybird roof vents are an excellent choice because they provide efficient ventilation for your house. They are an affordable solution to hot air in the house and on the roof.
Whirlybirds also have many benefits like easy installation, low maintenance and operational costs and excellent air flow into the house.
Small homes and apartments get the best out of the whirlybird roof vents since it can comfortably cover the whole space. Larger homes are harder to manage and ventilate which is why larger power ventilators are used.
For house cooling, a feature that whirlybirds do not provide, whirlybird roof vents are paired with ridge vents, soffit or powered vents for air conditioning. Whirlybirds will efficiently suck hot air out of the house but do not necessarily provide cooling.
Whirlybird Installation
The installation process of whirlybird roof vents is simple. This, however, does not mean that it has to be done haphazardly. There are steps to follow to ensure that the installation process is smooth and the delivery of the vents is excellent.
Installation of whirlybird is best done by a professional who understands roof technicalities and will not cause damage to your roof. The technician can quickly determine whether the vent is working correctly and that the roof’s weatherproof seal is intact.
Installation of professional guarantees that the ventilator will work well. There is no risk of causing damage to the ventilator while installing it due to inexperience.
It is crucial for the person installing to exercise caution since there are many sharp edges on the whirlybird ventilation system and some roofs. Protective gear is recommended when conducting the installation.

Steps to Installing Your Whirlybird Roof Vent
1. Select a suitable position for the roof vent
The first step to getting a ventilation system for your roof is selecting the location where the ventilator will be mounted. It has been determined that for the first functioning of the whirlybird, it is vital that it is installed away from street sides. From the ridge of the roof, remove at least two tiles to fit the ventilator on the third row of tiles. You can also select another spot that you feel is more suitable for the ventilator, choosing the position is, however, the first thing.
2. Clear the flashing panel
If you wanted the third row from the ridge as the ideal position, slide the tiles on the second row upwards to clear that width. The roof space created by removing three tiles is where the flashing panel places. The hole should sit squarely between the rafters for better functioning. The shorter side of the flashing panel should face down towards the roof’s slope.
3. Fold the flashing panel to the side tiles
Bend the flashing panel down on the sides and ensure that it follows the direction of the tiles on either side. The top edge of the flashing panel should be rolled 40mm upwards and leave 15mm to cover the top of the roof. Place the flashing panel over the opening and slowly slide back the second-row tiles while holding the panel in place. If the tiles in use require cutting to fit into the new space, ensure you have the right equipment to cut them neatly.
4. Place the pitch collar on the flashing panel
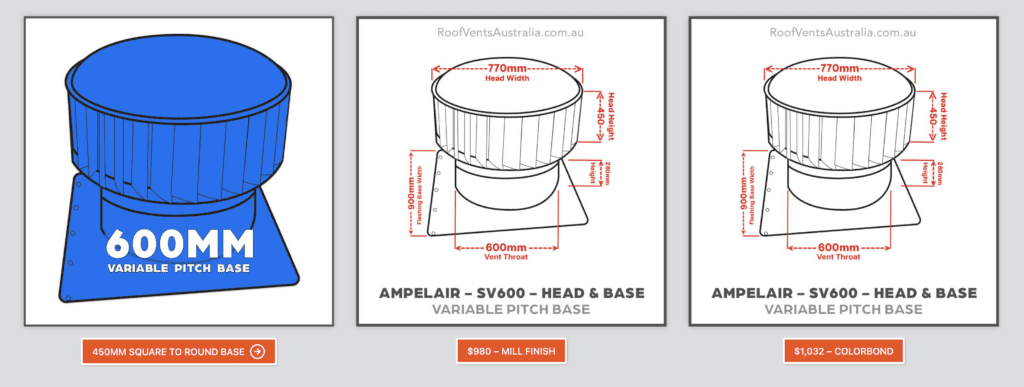
The edge that has two holes should always be at the top after placing the pitch collar. Since the collar is in two halves, vary the pitch’s angle by sliding them against each other. The top of the collar should always be in a horizontal position from any angle. Adjust accordingly to achieve this.
5. Fasten the collar and flashing panel on the roof
There are metal straps and screws provided for the fastening of the collar and flashing panel on to the roof. Ensure that you have each of them in the right position before placing the metal straps. They should be placed at 5, 7 and 12 clock positions. Once in place, screw the collar to the flashing panel and then pull the straps and screw them to the wood used on the roof.
6. Ensure there are no gaps between the flashing panel and the roof
Ensure that on the sides and top of the flashing panel are properly fastened to prevent spaces between the tiles and panel. Use a hammer to slowly and gently carve the sides of the panel into the roof tiles. Double check and ensure that there are three screws on the variable pitch collar, right above the metal straps. Each of the screws should go through both metal layers and not affect the lower fans blade. This fastening is vital to ensure that the vent is secure enough to withstand high winds. Areas that have extreme wind speeds utilize silicone to fasten the layers of the metal collar.
7. Finalize by fixing the rotor head in place
The rotor head takes its position on the collar. The head has four screws provided that are self-tapping. To ensure that the bolts are correctly fastened, screw them in, unfasten then screw them back again. The screws should not be overly attached since they compromise the base ring if they are too tight. Once all the steps are observed, your whirlybird installation process is complete and satisfactory.
