The Incredible Benefits of Having Solar Roof Vents in 2020
Rain Heads Custom Made Shipped Free Australia Wide – Click Here >
Dambuster Rain Heads Shipped Free Australia Wide – Click Here >
Commercial Industrial Roof Vents 300mm-950mm – Click Here >
Eco-Friendly Roofing Insulation Shipped Free – Click Here >
Gutter Sumps Shipped Free Australia Wide – Click Here >
Exhaust Vents
Solar Roof Vents - Supply & Installation Prices Click Here
The most common forms of exhaust vents are ridge vents, installed between two planes of a roof, which are known as ridges. They are often made of a copolymer, which is molded to shape in a high-impact form, and ultimately installed beneath a layer of shingles or roof tiles to make sure that to the naked and untrained eye, it is impossible to see these vents thanks to the almost seamless look.
However, there are also some forms of exhaust vents which are not designed to be invisible to the naked eye. For example, louvered vents, either on the roof or gable, and wind turbines are often mounted on the outside of your roof. Roof louvers and gable louvers, just like ridge vents, use absolutely no electricity, whereas a wind turbine needs electricity to function. While wind turbines can function without a power source, they are much more effective with a constant source of wind – and often have a slightly lower effectiveness than ridge vents.
See Our Prices for Supply & Installation in Sydney – Click Here
Intake vents
Intake vents can be practically invisible, and are also made of a copolymer material, Intake vents are almost always placed on the edge of a roof, and can be installed at the eaves’ drip edge, or under shingles on a roof’s edge. Intake vents (eave vents) work in combination with ridge vents in order to let colder, fresh air enter the attic space, and with the increase in air pressure due to the incoming air, forces warm air out of the ridge vent.
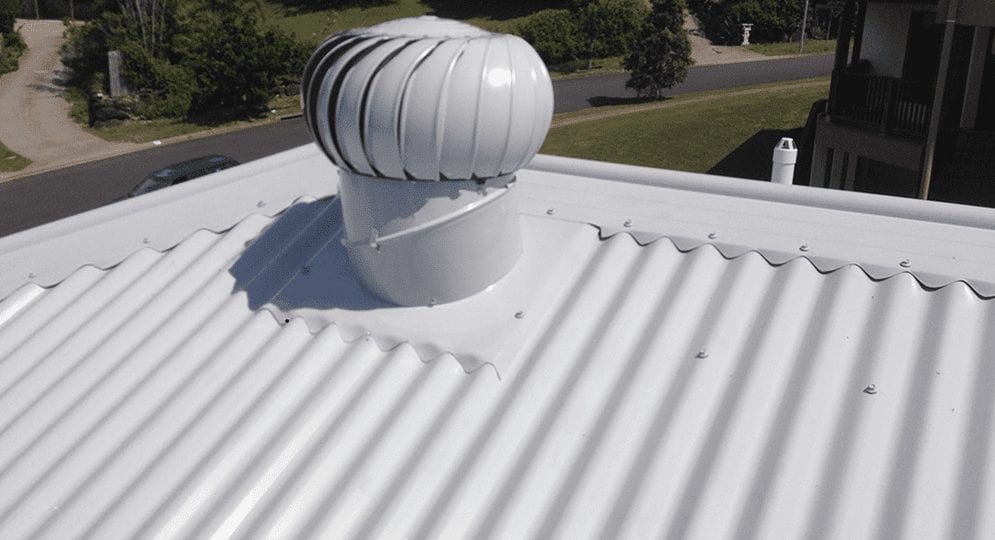
Solar Whirlybird Roof Ventilation
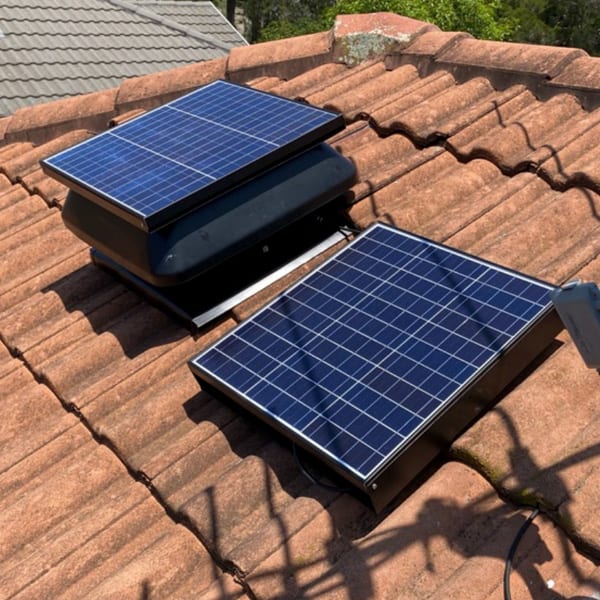
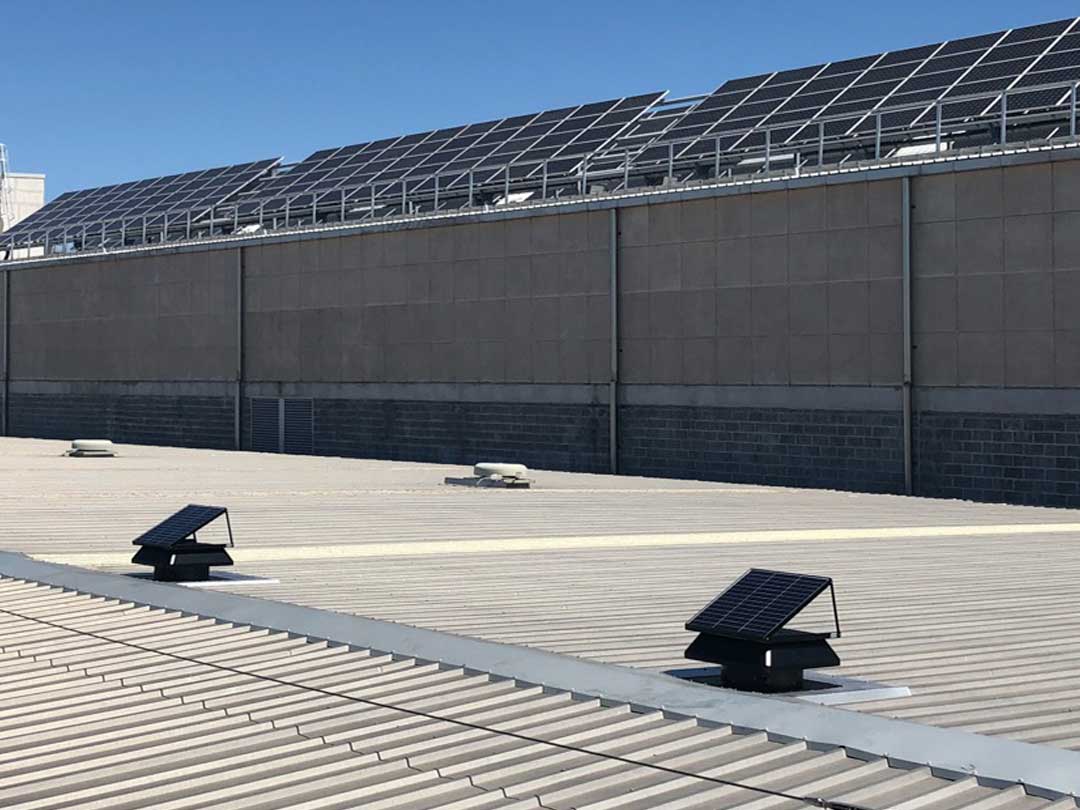
Alternatively, solar roof ventilation systems (otherwise known as solar whirlybirds) can aid in ventilation manually. Ultimately, these whirlybirds allow the flow of air to be on average 30x more effective than a standard manual ventilator, thus increasing the benefits enormously.
These solar whirlybird systems take roof ventilation to the next level, allowing an enormous level of air flow, but also thanks to the solar powered nature of the product, increases its working speed when most needed (when the sun is out). This then allows for the vent to increase airflow dramatically with the sun in the sky, thus cooling the house at a remarkable rate, However, in winter, when the months get colder, the solar whirlybird receives less power, and so does not act in a cooling manner – thus maintaining the heat within the house.
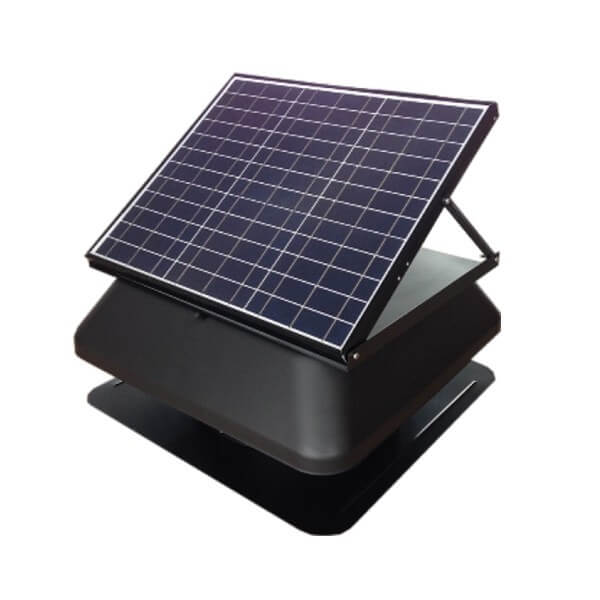
How does solar whirlybird ventilation compare to manual whirlybird ventilation?
Manual whirlybirds are passive ventilation systems, which require a difference in temperature to spin turbines and pull air out of the attic. Without this difference in temperature creating a path of flow through the whirlybird, they spin very slowly unless the wind is blowing. This can often leave your house with all the downsides of an under-ventilated attic, but with the cost of installing and maintaining a whirlybird vent. While manual whirlybirds have a benefit of absolutely no operation costs, they are compromised without the perfect and specific weather conditions they need to operate affectively. If you live in a hot climate or an area with constant or regular wind then you are fine. Whirlybirds are a good choice.
To move lots of air, a powered fan is the way forwards, and that is what a solar whirlybird offers you. Powered fans not only are able to shift more air at a more consistent rate, maximising benefits, but they also have a powerful fan based system, and maintaining the huge benefit of the manual whirlybirds zero operation costs.
Why can airflow differ depending upon the different roof ventilators chosen?
Some studies evaluating the performance of non-powered whirlybird roof vents have shown that an average wind driven roof ventilator moves around 100 cbm/hr, which in comparison to the impact of a solar whirlybird roof vent is diminished. The benefits of a solar whirlybird really shines when looking at the impact that they can have.
In comparison to the standard whirlybird at 100 cbm/hr. In order to have proper roof ventilation, we need to average the changing of air in the attic at 3-5 times per hour. In order for this to be done, we need a huge amount of vents to allow for the whole air capacity to be replaced at this rate. However, at the rate of a solar whirlybird, only one is necessary, reducing the impact on your roof in instalment, and aiding the care and maintenance of ventilation systems exponentially.
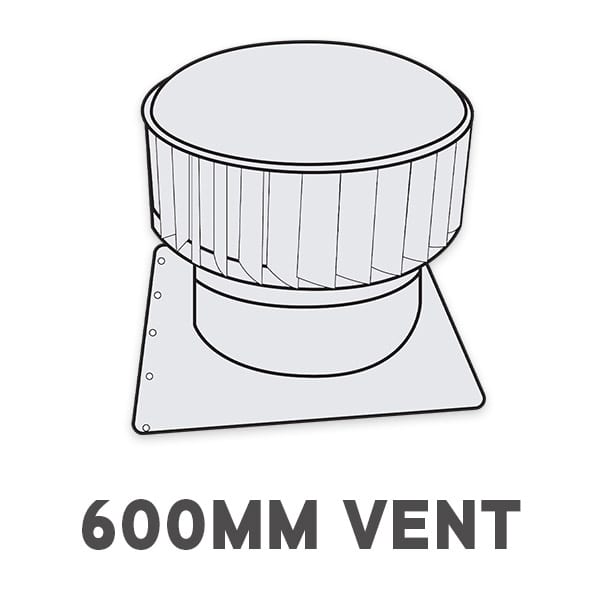
Supply & Installation Price
Sydney Metro Only
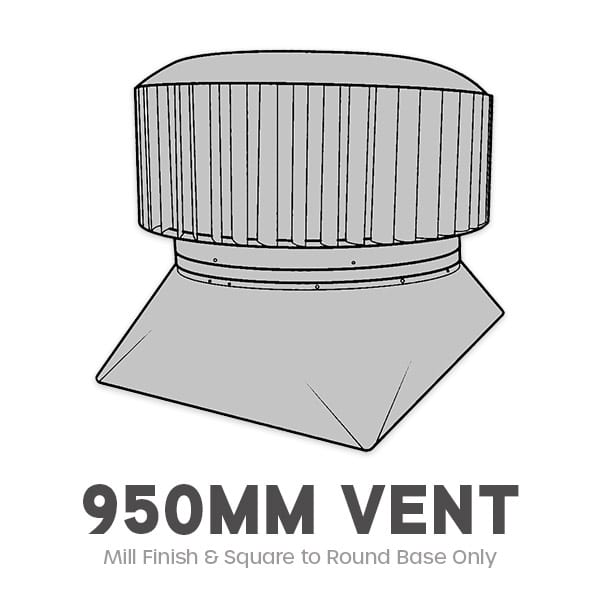
Supply & Installation Price
Sydney Metro Only
3 Roof Vent
Supply & Installation Price
$1,090/3
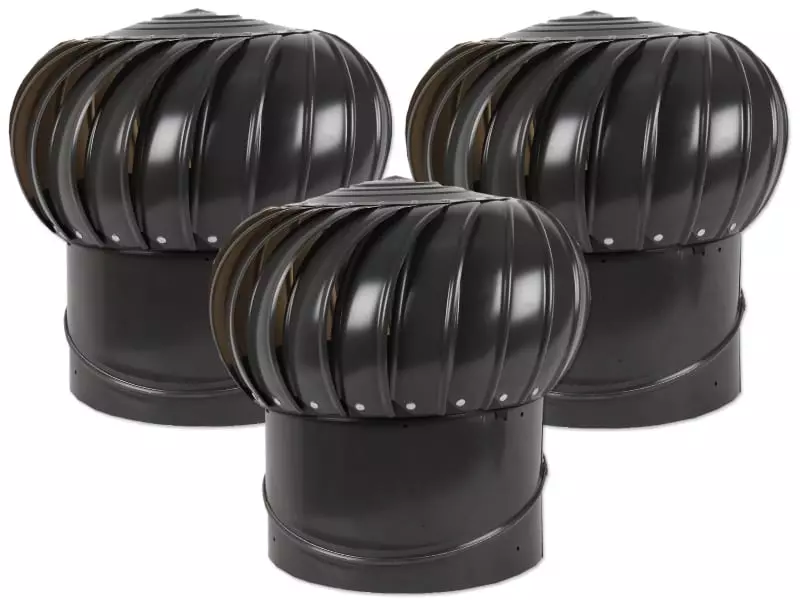
3 Ampelite 300 Spinaway
Colorbond or Mill Finish Supply & Installation Price
Download PDF
4 Roof Vent
Supply & Installation Price
$1,300/4
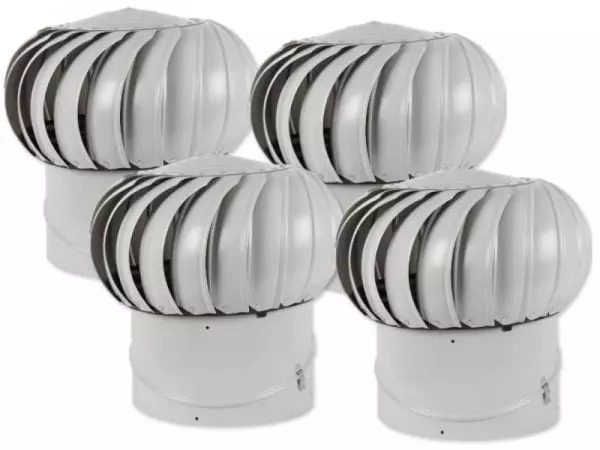
4 Ampelite 300 Spinaway
Colorbond or Mill Finish Supply & Installation Price
Download PDF

How do you properly maintain a solar vent?
As with anything integral to the maintenance of a house, it is imperative that you check that the vent system – whichever you have – to make sure that it is doing the job you paid for it to do. While often whirlybird vents need little maintenance, it does not mean that it is exempt from issues every few years. For example, while a vent may leak, this does not automatically mean that the vent ought to be replaced.
Rust or obstructions
A small breeze is designed to allow the whirlybird vent to spin naturally, and can with the smallest turn fling water drops off in different directions. Rainwater in its small droplets will be able to head into the openings between the fins – a problem worsened by rust – and is partly caused by the turbine sticking slightly and not moving with the full range and speed that it ought to have.
Any other objects near are near or inside the vent could jam the whirlybird, and on a solar whirlybird have a danger of causing particular damage. It is therefore good to get into the habit of spotting rubbish in or around the vent and clearing it out, alongside checking for rust. Should rust be found within the whirlybird, you are by far best off replacing the rusty turbine vents to prevent issues in the attic, or the whirlybird.
See Our Prices for Supply & Installation in Sydney – Click Here
Loose connections
In high winds the rapid movement of a vent can cause the whirlybird turbine vents to escape their sandpipes, potentially letting water to enter the vent and cause issues with rusting. It is important to examine the whirlybird vent to make sure that the upper section is tightly attached to the sandpipe.
Should the flashing come loose against the roof, specific nails or stainless steel screws can be used to secure it. If any fastener heads are exposed near the vent, they must always be closed by specific roofing cement, or perhaps silicone caulk.
Unsealed joints and fasteners
While your solar whirlybird is being installed, the turbine vines should be sealed off at a number of places in order to reduce the possibility of water accessing the turbine. These points should include any nail heads, alongside the whole of the base of the vent, and the bead that joins the two horizontal sections of the vent.
Furthermore, it is incredibly good practice to seal off the location where the flashing and the stack meet, alongside the vertical seams of the stack. This list of points should be sealed off with silicone caulk or roofing cement, once again. As with loose connections, it is good practice to regularly check these points in order to make sure the sealing is intact – or it may require re-application.
See Our Prices for Supply & Installation in Sydney – Click Here
Improper Flashing
If you think that your vent is leaking, yet the turbine vent has all its fins, and is in good condition, then your issue may be at the bottom of the vent. Most vents have a part called base flashing added into the bottom of the vent, that is typically made out of sheets of metal. The metal sheets ought to be slipped under the shingles above the vent, while also managing to overlap the shingles below.
If your flashing is bent or damaged at all, then rain water may be escaping into the attic. The fix for this is pretty simple, all you need to do is rejoin any raised parts of the flashing, and make sure that with silicone caulk all edges are sealed off once again. If your flashing is entirely corroded, it is most likely that you will need to replace the entire vent, as the holes in it are near impossible to fix.
How do installation costs compare?
Installation of a manual or solar whirlybird is pretty cheap in comparison to a ridge vent, as it only requires the removal of a section of roof singles and a small hole drilled to fit the particular vent.
Once a silicone caulk or roofing cement seal is in place, the installation is complete. A ridge vent, comparatively, has a much higher installation cost due to the fact that it runs across the length of the roof – thus meaning that the entire peak must be cut away.
What is the best option for roof ventilation?
While manual whirlybird vents are popular for their affordability, with a low cost-per-unit, this approach for choosing the vent that you want is a little faulty.
This is faulty because it does not look into the airflow capacity which the vast majority of roofs need in order to be fully ventilated, A modern, solar whirlybird vent is a strong solution to fix the low maintenance style of a whirlybird, while also having the benefit of a huge rate of air flow through the vent.
It is also worth pointing out that the solar powered fans in the Australian market have a much higher airflow ability compared to any fans run on mains electricity – once more adding to the reasons to buy a solar whirlybird vent.
A solar vent is much more cost effective, as it is much easier to install, and has 10-30 times the capacity of a standard manual whirlybird ventilator. Furthermore, a solar whirlybird has between two and eight times the air flow capacity of most popular powered roof vents.
Overall, a solar whirlybird seems to have the ultimate position in terms of ventilation systems, with the combination of strong solar panels allowing for the capacity of airflow to be increased, and the low installation costs, it is by far the most cost effective and simple choice for a ventilation system, and should be properly thought of by many as the first port of call in relation to roof ventilation systems. What’s not to love?
